
Add Value With HangNailz Professional Solutions
Unique offerings to elevate your business. Our growing pro line starts with The Framer's Kit, easy for you and your customers. Explor'um below!

An Easy Two-Part Kit For Framing Professionals and Their Customers
Time-Saving Installation
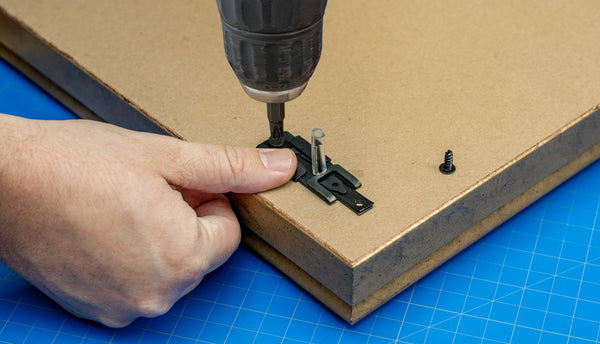
The quick mount-and-go setup dramatically reduces installation time compared to traditional hardware like eyebolts, framing wire, D-rings, and keyholes, allowing you to complete more projects in less time.
Greater Customer Satisfaction
The two-part system makes it easy for clients to securely mount their artwork at home with minimal effort, adding value and a positive experience to your service.
Professional Results
Eliminates the need for visible wires or extra hardware, resulting in clean, streamlined hanging that appeals to clients seeking a polished look.
Differentiates Your Business
By offering our innovative,
client-friendly mounting solution, you position your services as modern and thoughtful, setting you apart in a competitive market.


Professional Solutions
-
Sold Out
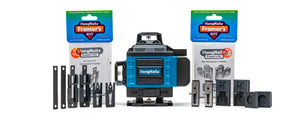
HangNailz Laser Level
-
Sold Out
HangNailz Laser Level
On Sale
HangNailz™ Framer's Kit for Wood and Composite Frames
On Sale


